Happy Summer! Let's have fun and act like heroes! We can surf like a hero, be a ninja turtle, read more comics, see some wild cats at the zoo or visit people in the community!
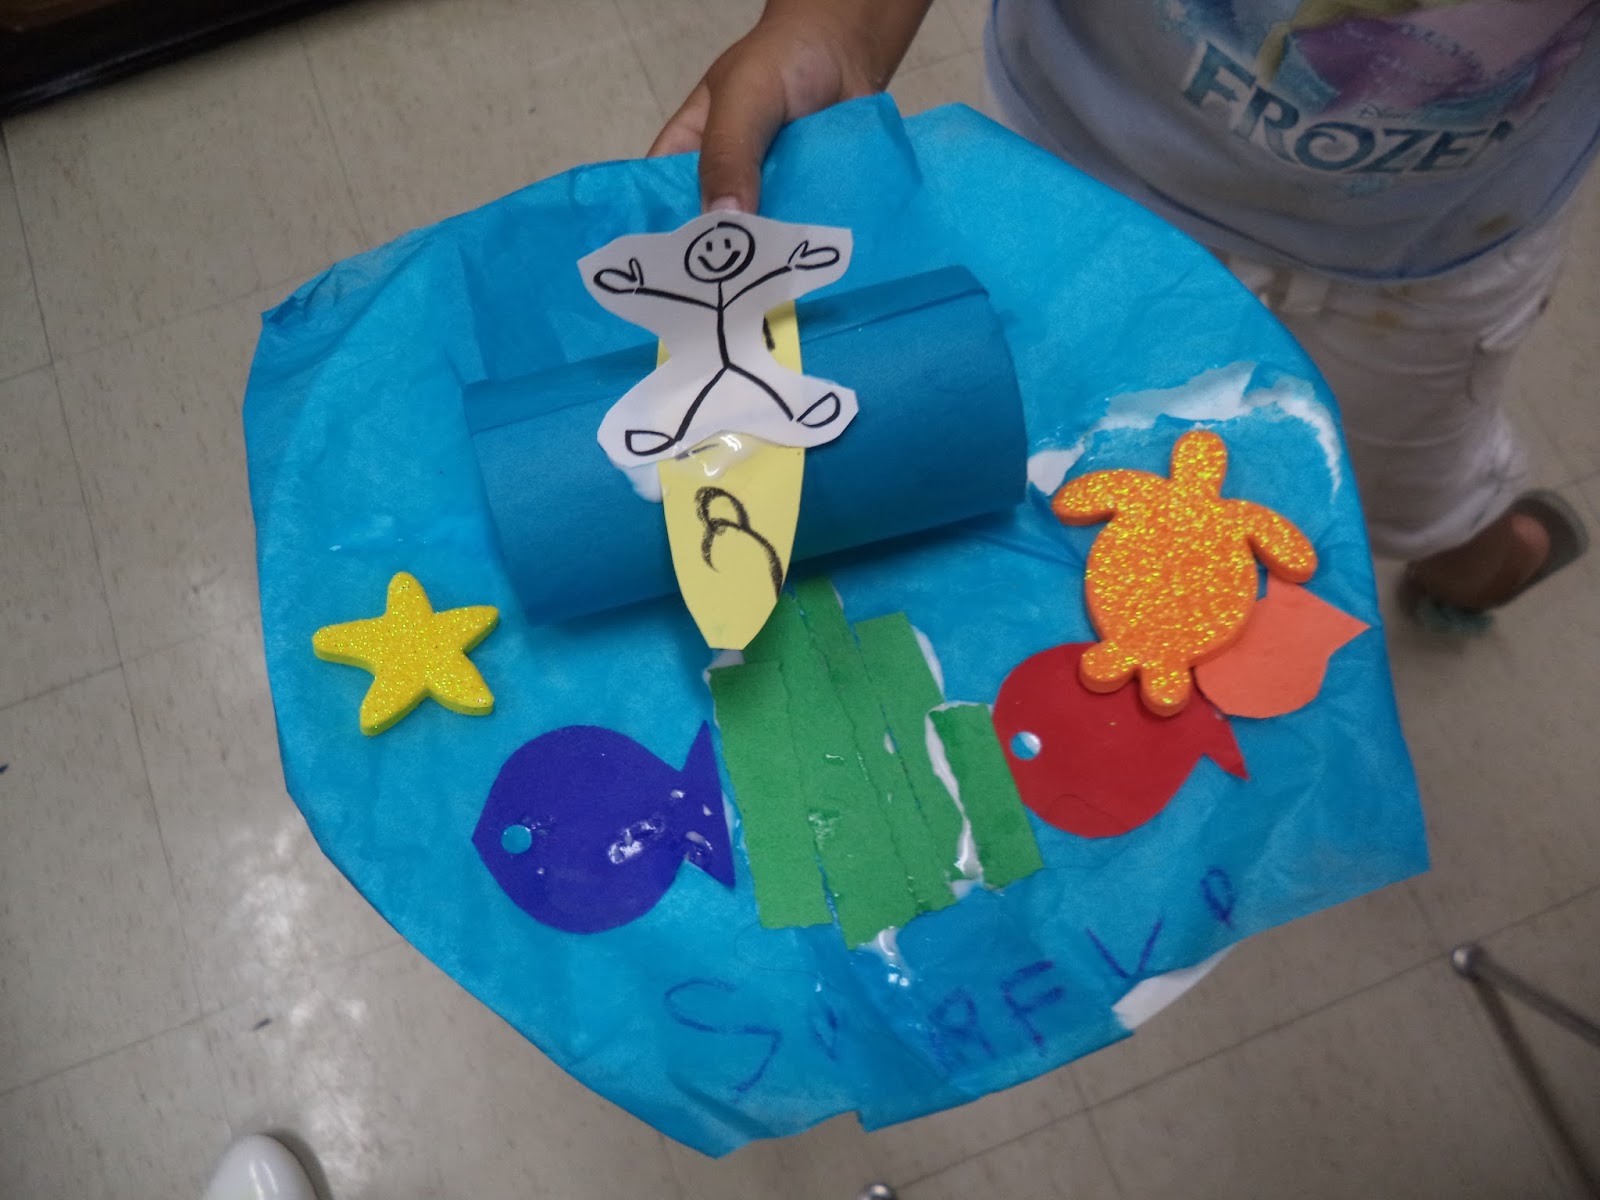
Let's go surfing! Anyone brave enough to surf the waves is a hero to me!
Surfing Diorama

Supplies: Paper plate, blue tissue paper, card stock, green paper, sea shapes foam stickers, toilet paper tube, cut out of human stick figure, scissors, glue/tape and crayons/markers.
Directions:
1. Cover and wrap up a paper plate in blue tissue paper. This will be your ocean water.
2. Wrap a toilet paper roll in blue tissue paper and attach it onto the wrapped plate. Make sure the tube is attached to the plate in a horizontal direction. This will be your wave.
3. Cut out a surf board shape from card stock and draw a design on it. Attach it onto the top surface of the tube in the center.
4. Cut out a human stick figure, color it in and attach it onto the surf board. You can fold the legs under and glue/tape the legs down so that the rest of the figure is standing or sitting on the board. You now have your surfer on the surf board.
5. Cut out fish and shell shapes from card stock and attach it onto the plate around the board.
6. Cut out small green strips of paper and attach is onto the plate to resemble seaweed.
7. Attach sea shape foam stickers onto the plate for more embellishments.
7. Attach sea shape foam stickers onto the plate for more embellishments.
Enjoy the surfing dioramas below created by the children at the library!


I see someone on the beach wearing a ninja turtles outfit! And there's a pizza stand nearby as well! Let's eat pizza like a ninja turtle after all the surf and sun we had today!
Ninja Turtle Tube!

Supplies: One toilet paper tube, green construction paper, yellow paper, brown paper, fabric, googly eyes, crayons/markers, tape/glue, scissors and a piece of pipe cleaner.
Directions:
1. Wrap a toilet paper tube in green construction paper.
2. Cut out a circle from green construction paper, draw a design on it and attach it to the back of the tube. This will be the shell.
3. Cut out 4 small strips of green paper and attach 2 each onto the sides of the tube. This will be the arms and legs.
4. Cut out a vest shape from yellow construction paper, draw some lines and squares on it and attach it onto the front of the tube. This will be the ninja turtle's chest.
5. Cut out a belt from brown construction paper or a bow shape and attach it onto the yellow chest. This will be the ninja turtles martial arts belt!
6. Cut out a strip of fabric (red, orange, blue or purple) and glue it around the top of the tube. Attach 2 googly eyes to the fabric at the front. This will be the bandana and the eyes. Using crayons/markers, draw a mouth under the eyes.
7. Cut out a strip of green paper and bend it into an arc. Attach the green arc onto the insides of the top of the tube to create the top of the head for the turtle.
8. Cut out a triangle shape from yellow construction paper and draw a pizza design on it. Attach the paper pizza to the end of one of the arms.
9. Take a small piece of pipe cleaner and bend one end around into a loop. Attach the pipe cleaner with the bent loop on top onto the end of the other arm. This will be the sword!
Enjoy the teenage mutant ninja turtles below created by the children at the library!


Ooh, I see some pretty super bugs flying around and crawling around!
Super Bugs!
Super Bugs Book!


Instructions:
1. Cut out a section of legal sized construction paper and fold in thirds. This will be your paper bug book.
2. Cut out shapes of insect bodies and wings from fabrics. For the lady bugs, there is fabric that is red with black dots on it and it's sold at craft stores. Glue or tape the fabric shapes onto each section of the paper book. All you need to complete the insects are coloring in the legs, face and antennas.
3. Using crayons/markers, draw a face, legs and antennas onto the insects. Use googly eyes for the eyes if you wish.
4. For the bee, if there is no yellow and black striped fabric around, then you can glue/tape yellow strips of fabric onto a black piece of construction paper that is in the shape of a bee's body. You may cut out 2 circles from yellow fabric for the wings.
5. You may use a yellow paper circle for the sun and cotton for clouds to further embellish the book. You may use stickers as well.
Enjoy the "Super Bugs" books below created by the children at the library!


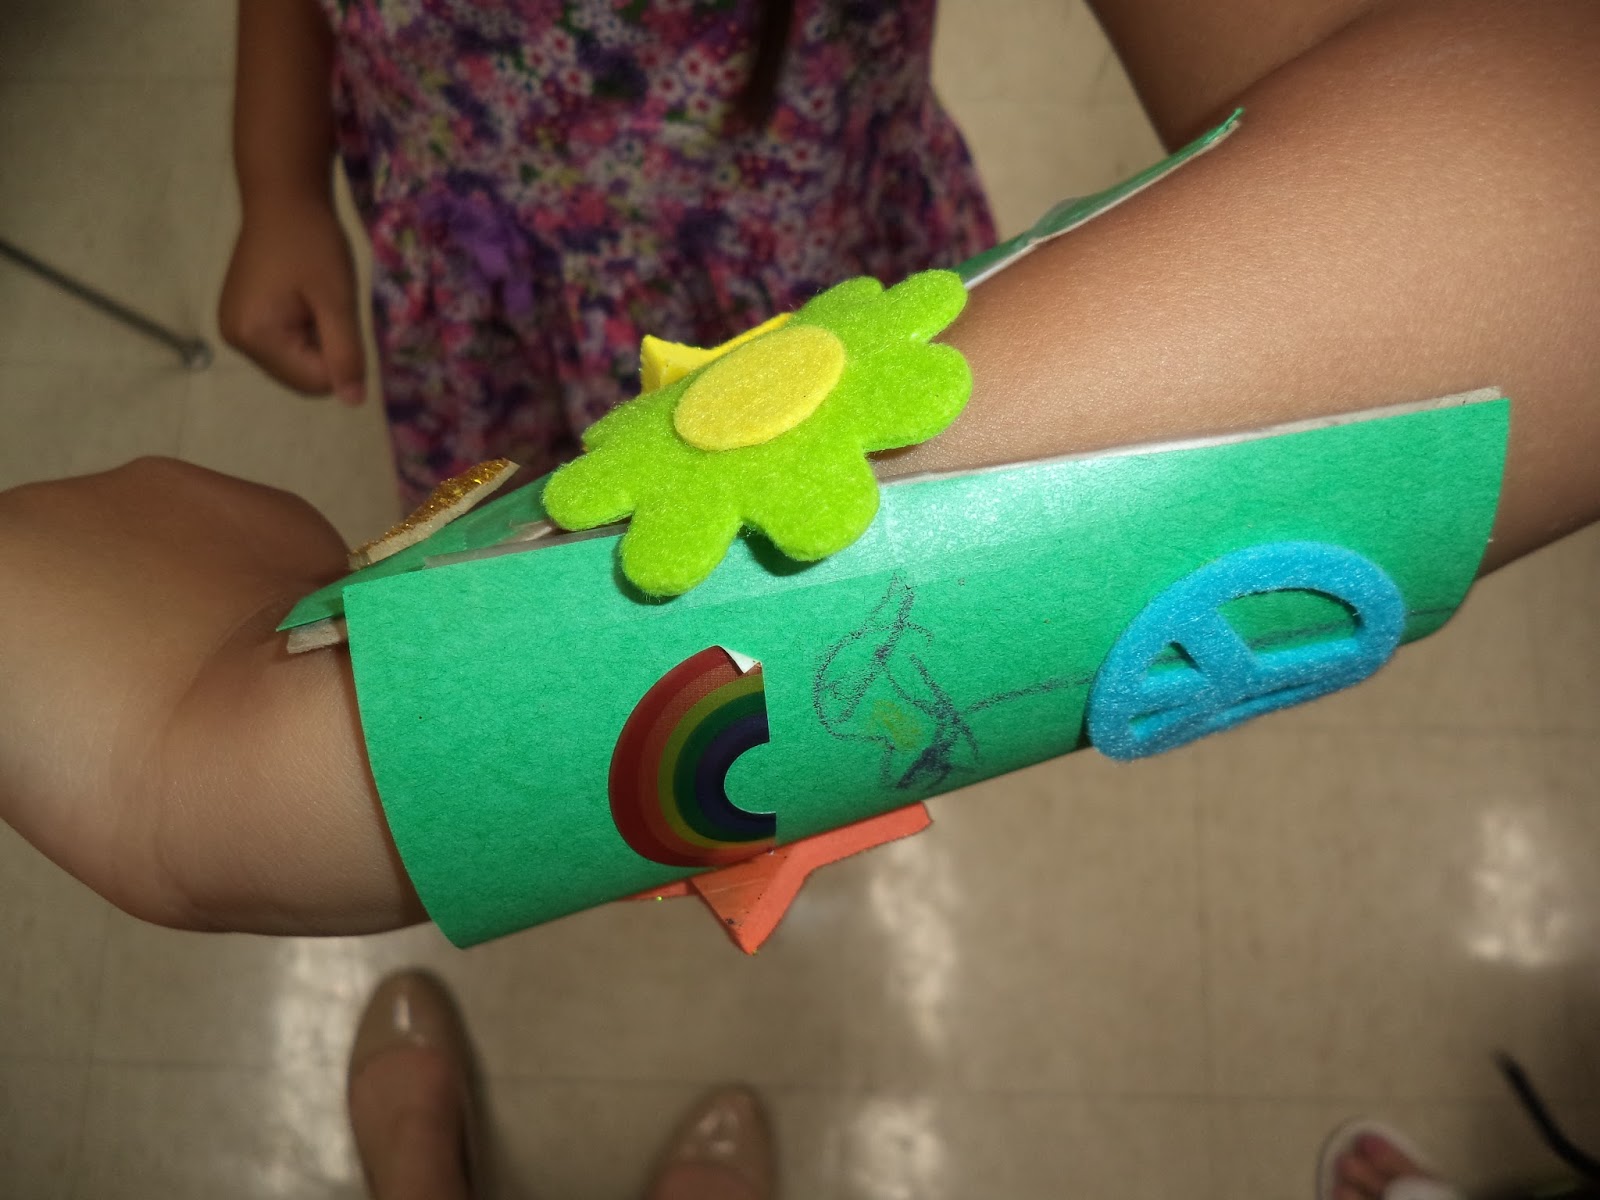
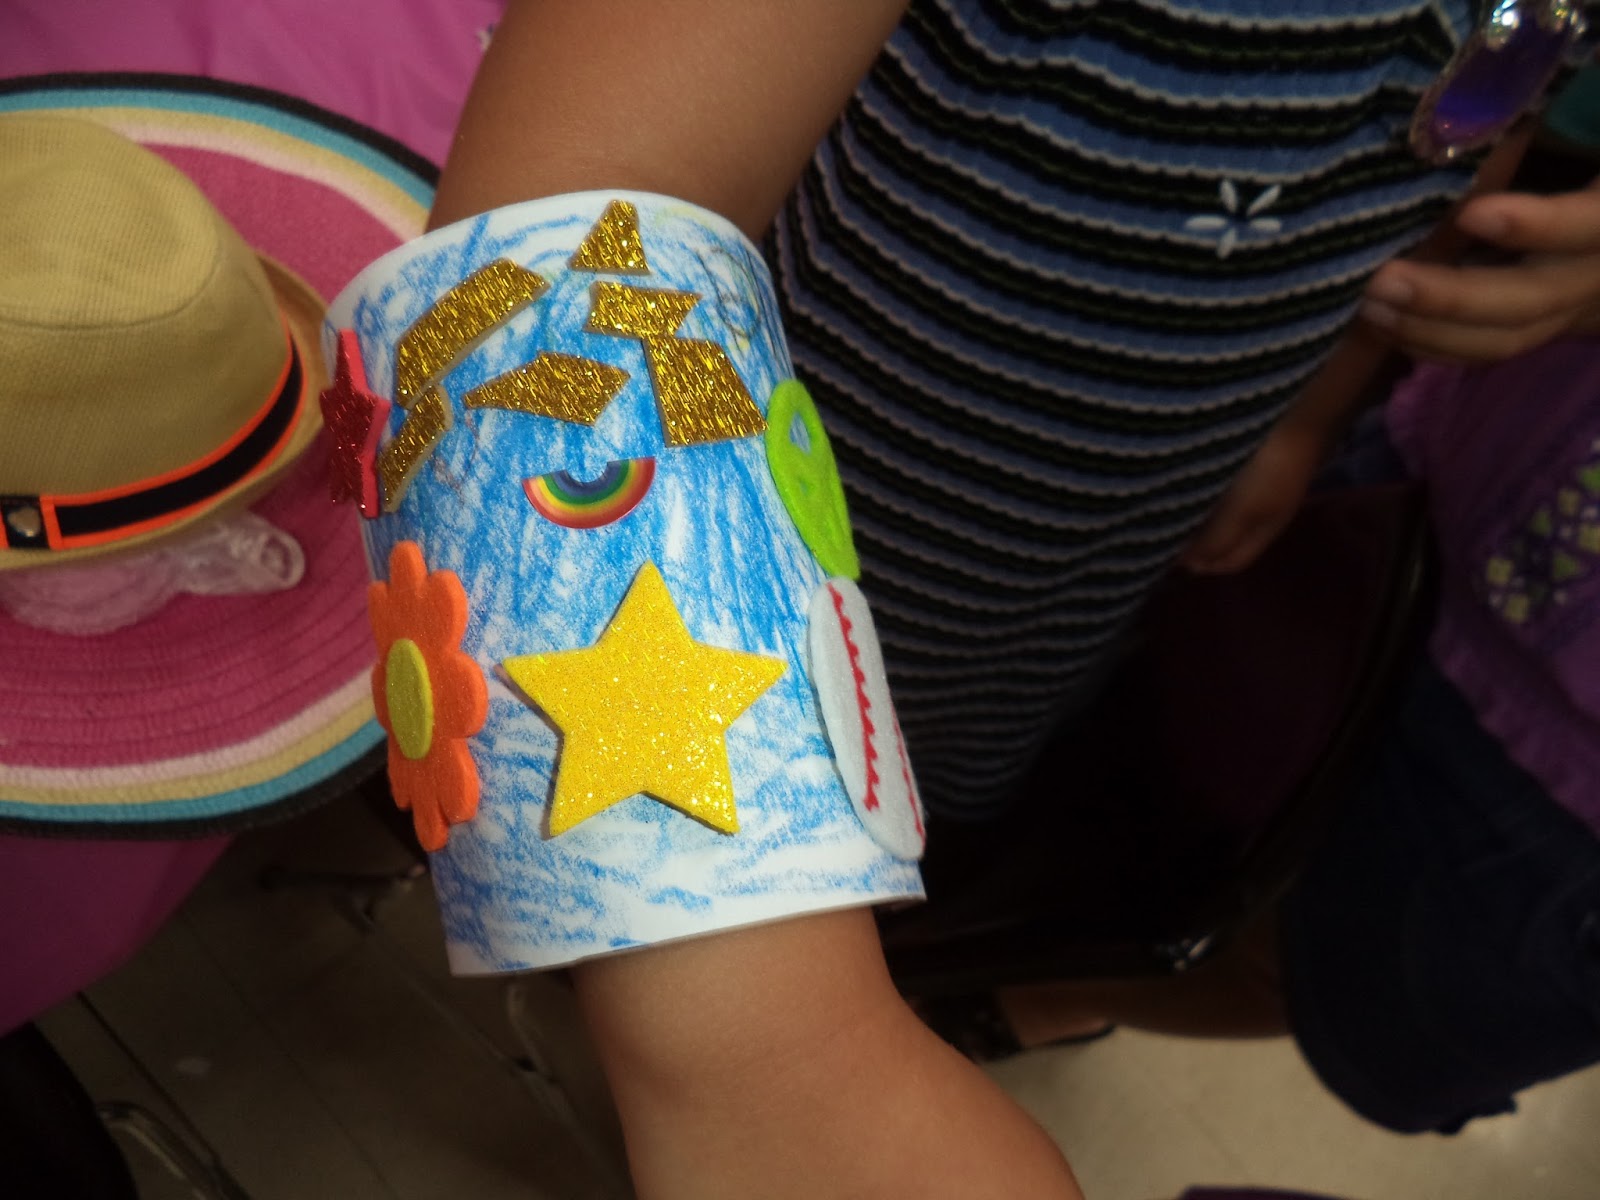
Now that we saw some super bugs, perhaps we can be super ourselves! Let's make a superhero cuff for ourselves to wear!
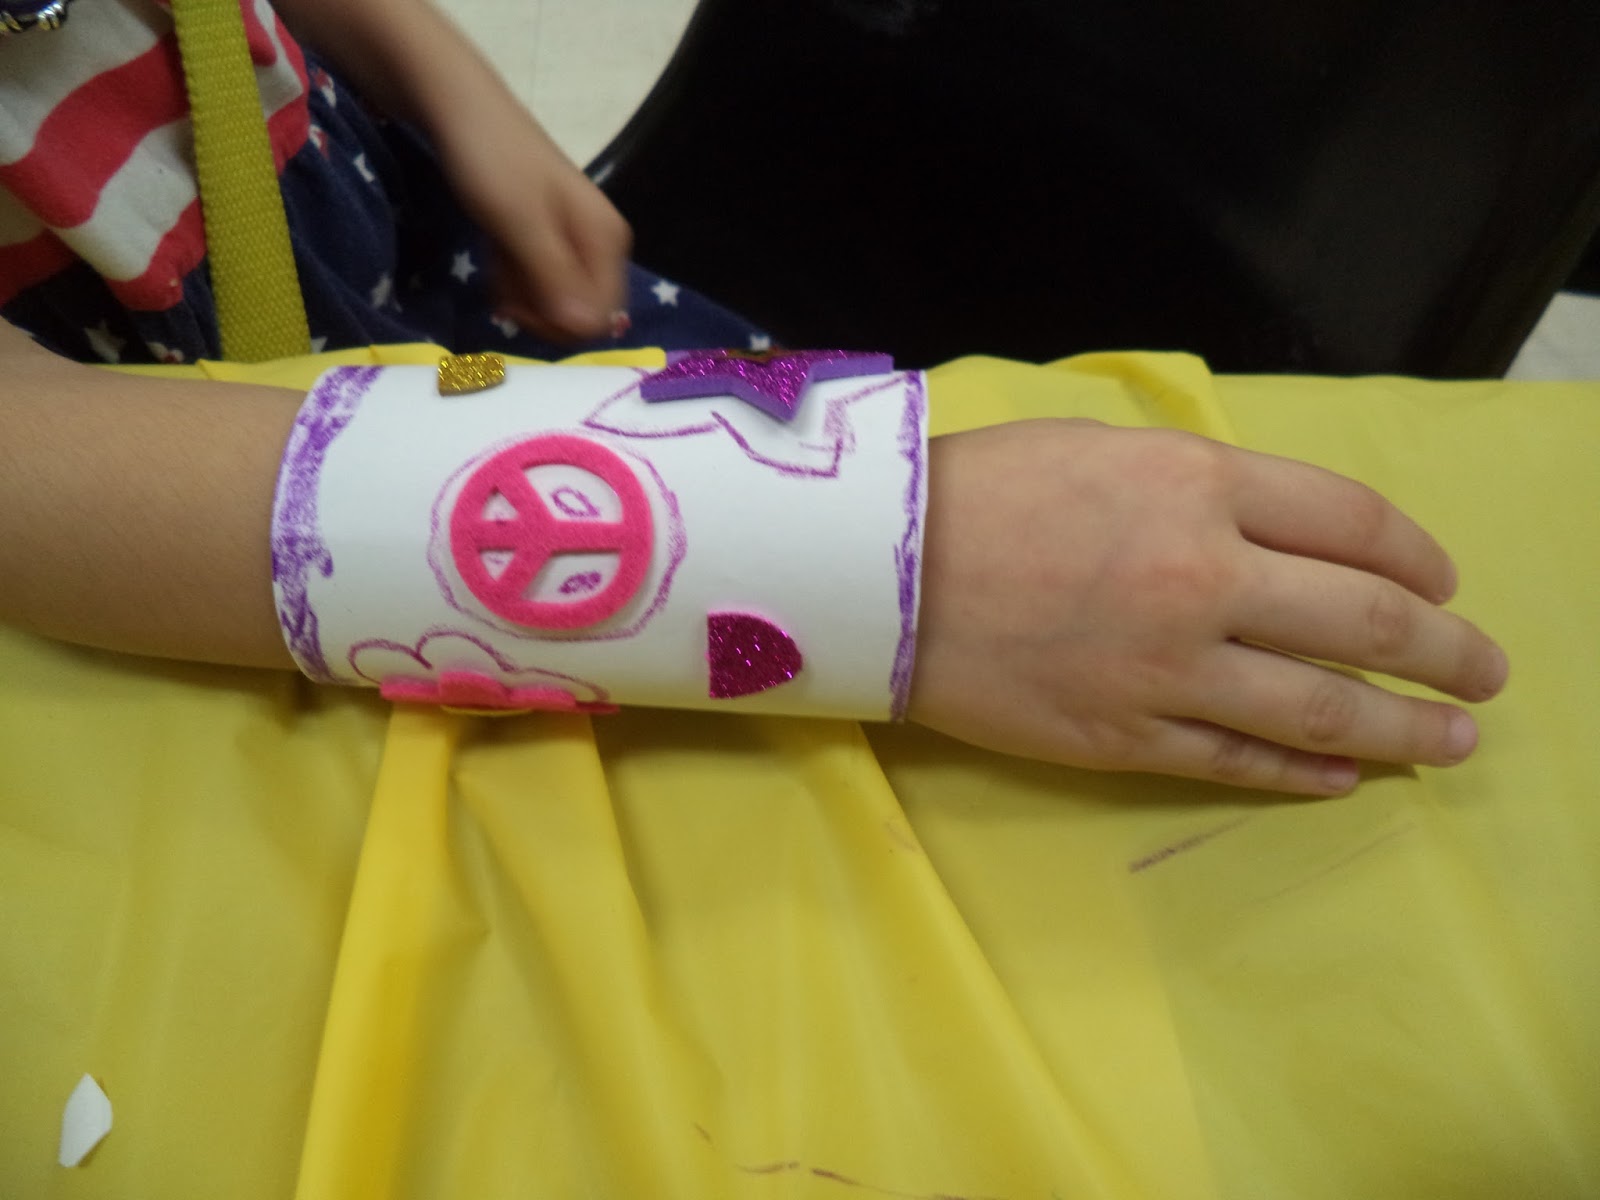
Superhero Cuff!


Supplies: Toilet paper tube, construction paper, stickers/sticker foam shapes and crayons/markers.
Instructions:
1. Using scissors, cut a vertical line down one side of the tube. Now you should be able to wear the tube on your wrist as a cuff.
2. Cover the outside of the cut tube with construction paper (any color).
3. Using crayons/markers, draw or color in a design of your preference.
4. Decorate the cuff with stickers, foam shape stickers or glittery foam shapes.
Enjoy the super hero cuffs below designed by the children at the library!


While we wear our superhero power cuffs, let's think of all of the people in our community that are heroes to us!
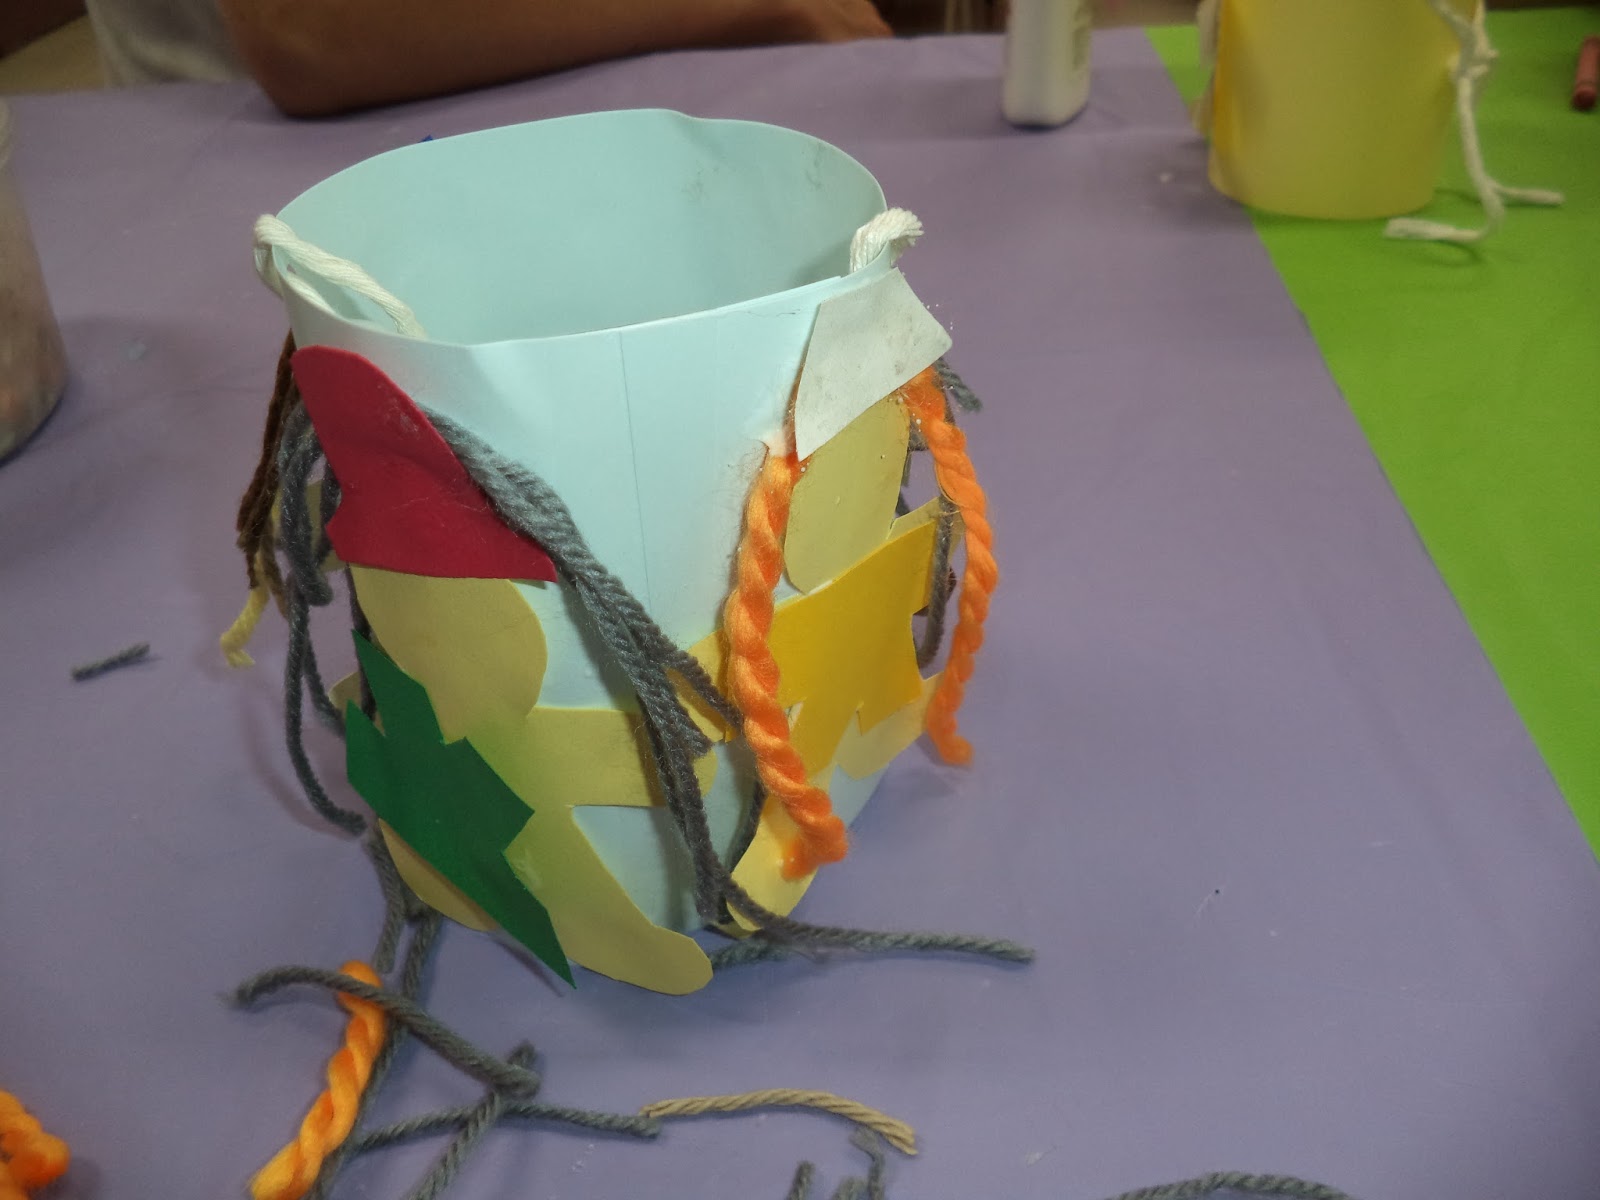
Community Circle! Circle of Heroes in our Community!


Supplies Used: Card Stock, Scissors, Yarn, Glue/Tape, Crayons/Markers, String, Hole Puncher and Stickers.
Directions:
1. Using scissors, cut out a letter sized piece of card stock in half horizontally. Discard or save one half and use the other half for the craft.
2. Fold the piece of card stock that is being used for the craft into a tube shape or circle shape and attach the ends together using glue/tape.
3. Stand up the tube/circle. Punch one hole on each side near the top and slide a string through the holes and tie a knot with the ends of the string. This will make the circle spin around. See the example below!

4. Cut out 4 gingerbread shapes from neutral colored card stock (tan, yellow, beige, brown). Cut out clothes shapes for them from card stock of different colors. (For example, blue card stock can be used for a police officers uniform and yellow and red can be used for a fireman and white can be used for a nurse.) The outfits can be in a basic triangular shape or any shape of your choice. You can cut out a simple shape for the hats and bows or any other accessories as well to then attach to the head of the gingerbread figure.
5. Using crayons/markers, draw a face on each gingerbread shape and glue/tape an outfit to each one. Attach yarn onto the head of each gingerbread figure for the hair. It may be better to attach the yarn behind the top of the head and accessory.
Now you can twirl your community circle around! Enjoy the community circles of heroes or heroins below created by the children in the library!


It's back to the beach again! Let's see if we can spot some fish, sea shells and mermaids! While we dry off, it's a good time to read your comics.
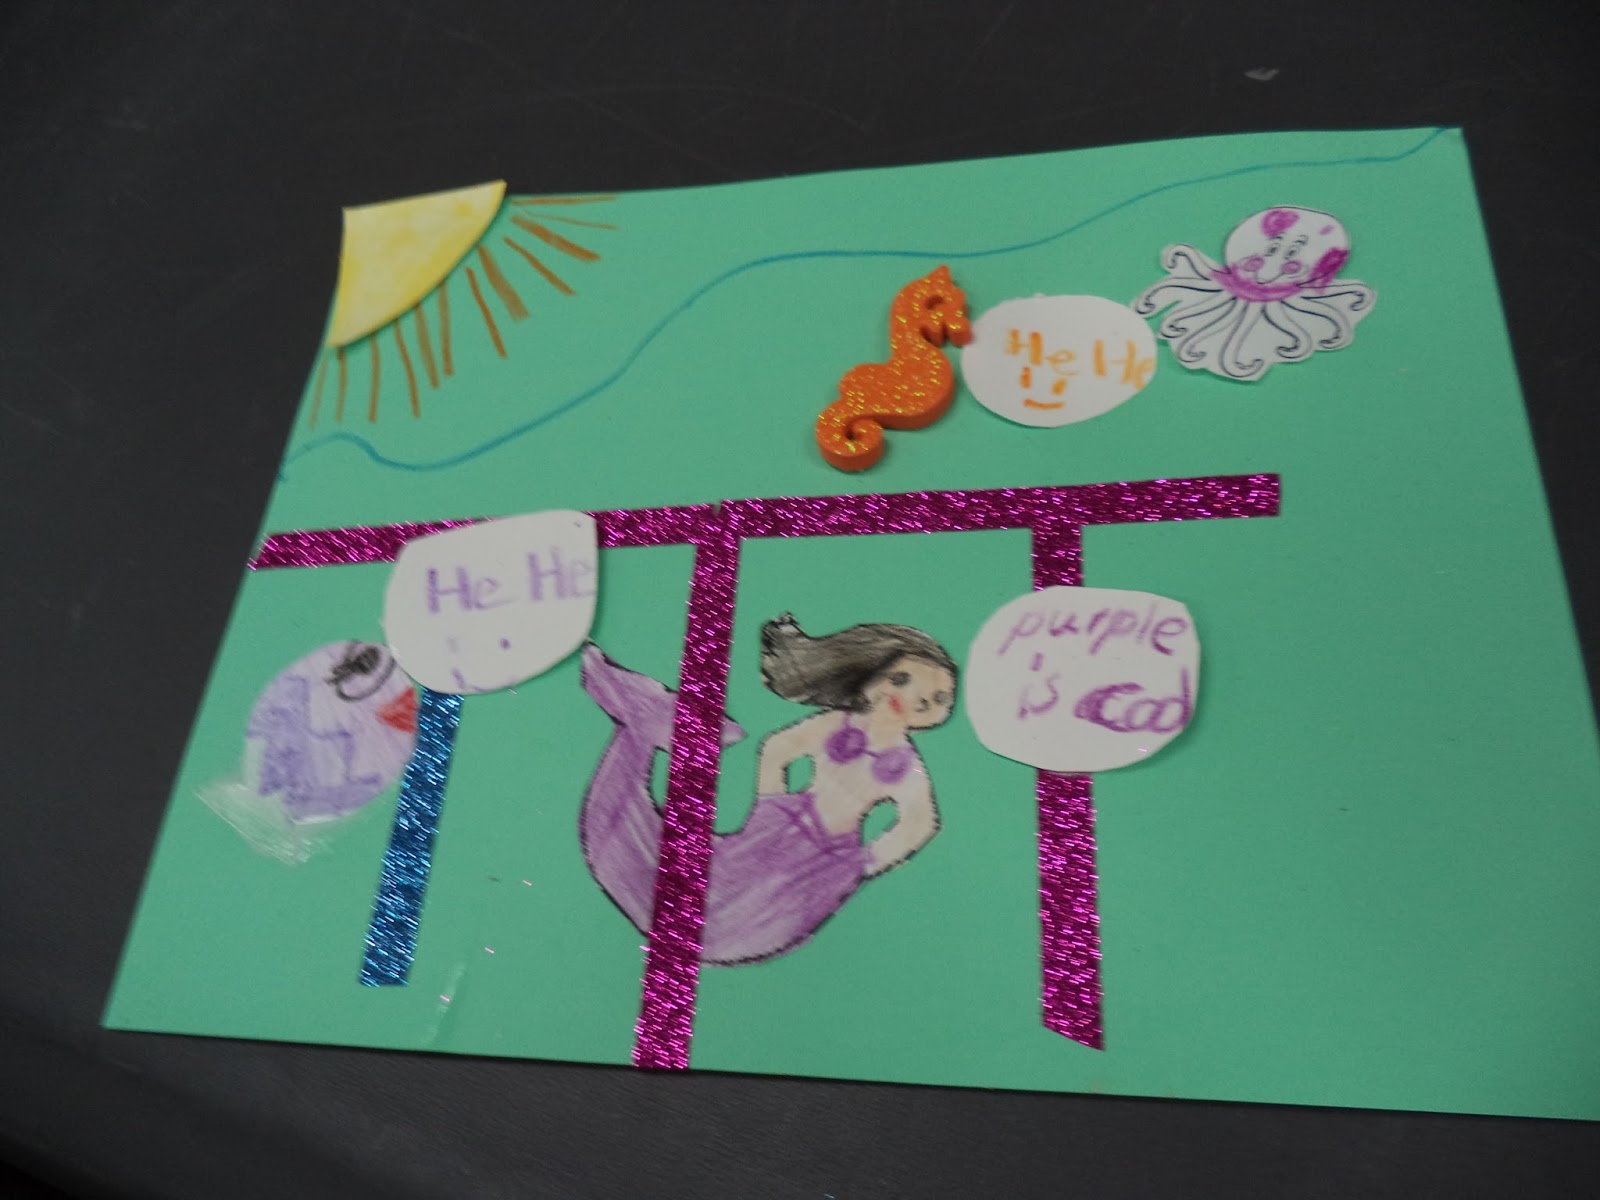
Under the sea comic strip!

Supplies: One sheet of blue/aqua card stock, glitter foam stickers in the shapes of fish and sea creatures, pieces of white card stock, an image of a mermaid or a scuba diver and images of other creatures in the sea, glue/tape, glitter tape, crayons/markers, scissors and anything else of your preference.
Directions:
1. Attach strips of glitter tape onto the blue/aqua card stock sheet to create panels for your cartoon.
2. Attach stickers, images and shapes of sea creatures or scuba divers onto the blue/aqua card stock. You can stick them anywhere in your panels or around your panels.
3. Cut out cartoon bubble shapes from white card stock and write words in them or draw pictures in them and attach them onto your cartoon.
4. Using crayons/markers, draw anything else that you would like to have in your cartoon!
Enjoy the sea comic strips below created by the children at the library!


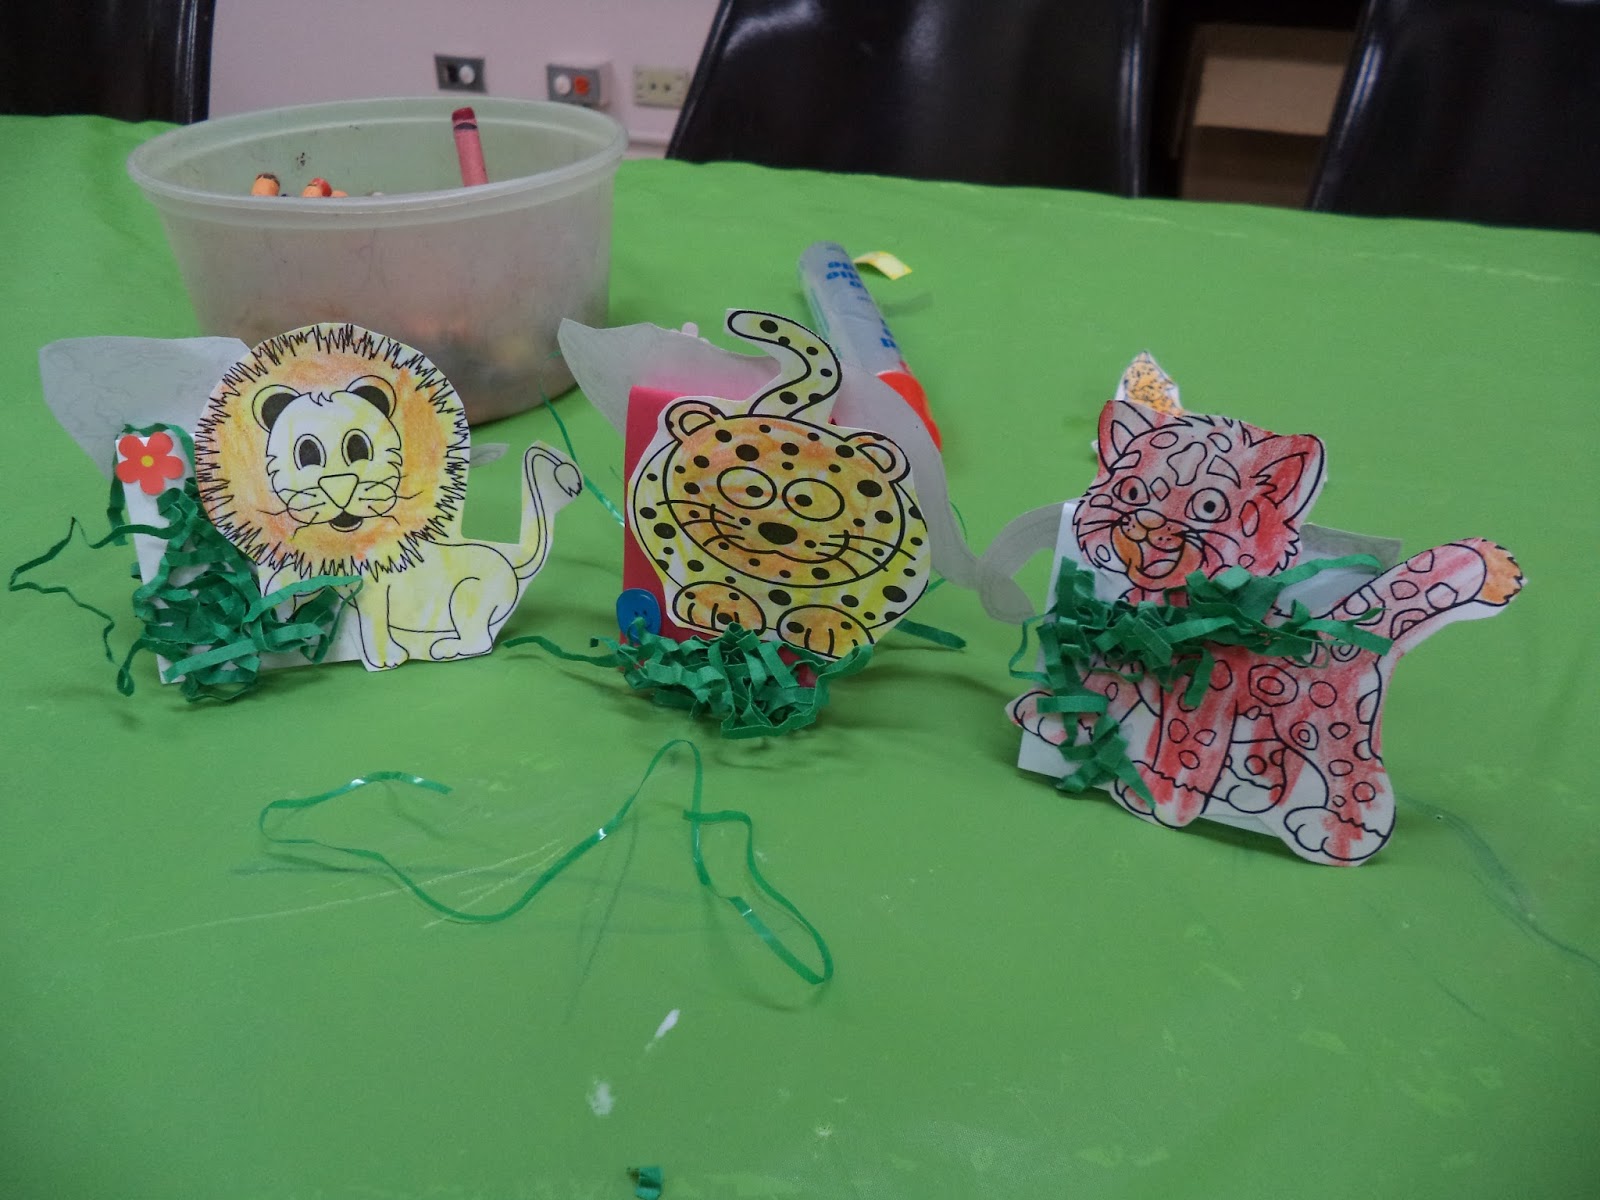
Today is a new day and it's time to travel to the zoo where we can see the big wild cats do the cat walk!
Cat Card Walk!


Supplies: Card stock, printed black/white images of wild cats (lions, tigers, pumas, leopards, cheetahs, etc.), fake grass, stickers, crayons/markers, glue/tape and scissors.
Instructions:
1. Cut out rectangular pieces of card stock and fold them in half. Place each folded card stock standing up on a flat surface.
2. Download images of wild cats from the Internet or photocopy/scan from books. Using crayons/markers, color in the images of the wild cats.
3. Glue/tape a cat to a side of a folded card stock. Attach fake grass under each cat to make it seem as if the cats are walking in the wild.
4. If you wish, use stickers to further decorate the cat cards.
Enjoy the cat cards or cat walks below created by the children in the library!